
Hello, beauty enthusiasts! Eyeliner is like magic for your eyes, enhancing your features and giving you that extra dash of confidence. Whether you’re a beginner or a makeup pro, our guide is here to help you nail the art of eyeliner application. We’ll walk you through the types of eyeliners, offer easy step-by-step instructions, and share expert tips to make your eyes pop. Let’s dive into the world of beautifully defined eyes!{Easy and Friendly}
Right Eyeliner: Eyeliners come in various forms, each offering a unique effect. Let’s explore which one suits your style best:
1. Pencil Eyeliner: Perfect for beginners, pencil liners are effortless to apply. Use light strokes for a natural look or smudge for that sultry, smoky effect. Plus, they won’t irritate your eyes, making them an excellent choice for sensitive eyes.
2. Liquid Eyeliner: Liquid liners provide precise, bold lines. While they require a bit of practice, the results are stunning. From subtle lines to dramatic wings, liquid liners offer versatility and are available in pen or brush form.
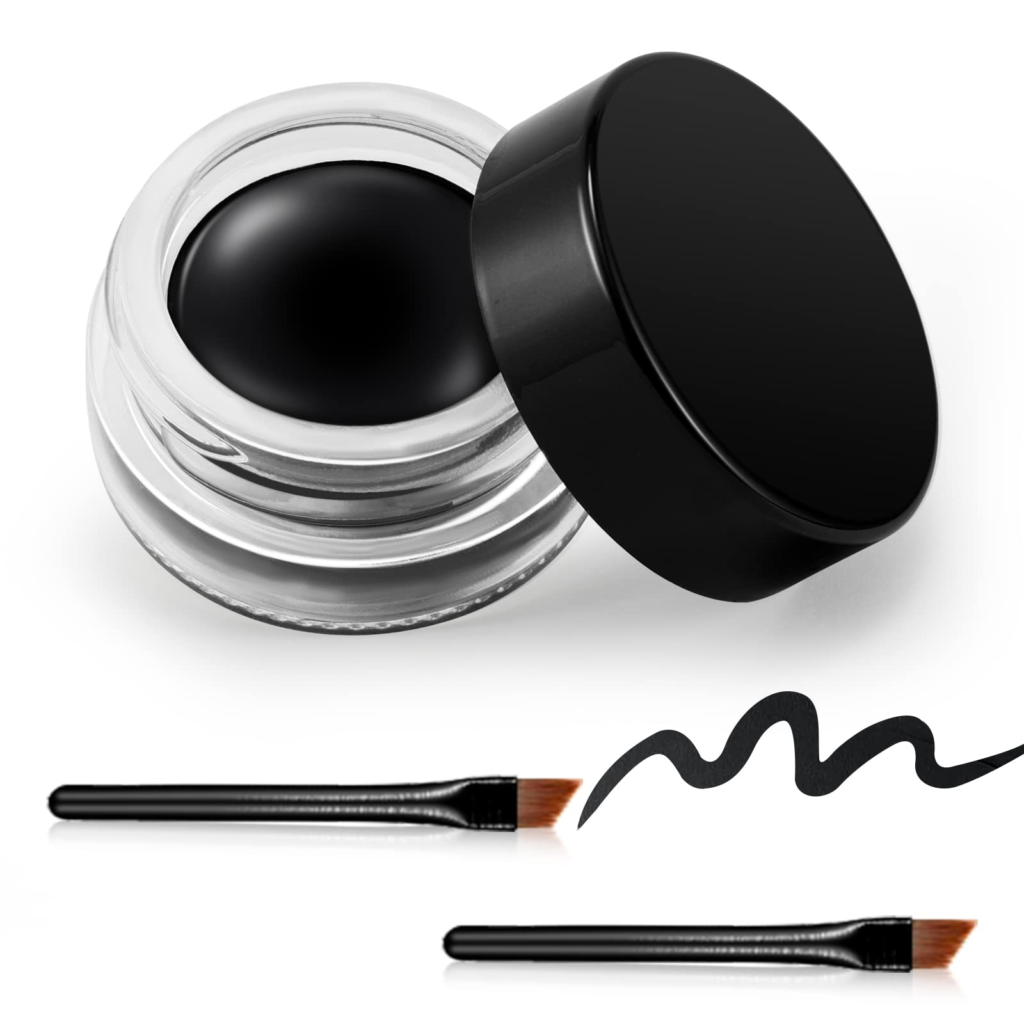
3. Gel Eyeliner: Gel liners, housed in pots, offer drama and intensity. They’re ideal for creating captivating cat eyes and dramatic lines. Use an angled brush for precise application, and enjoy a long-lasting, defined look.
4. Cream Eyeliner: Cream eyeliners offer a soft, natural appearance. Perfect for a daytime look, they are smooth to apply and blend effortlessly. Opt for cream eyeliners in pencil form for a beginner-friendly experience.
Applying Eyeliner with Ease: Now that you know your liners, let’s delve into the application process for a flawless finish:
1. Pencil Liner:

- Sharpen the pencil for precision or dull it for a softer line.
- Gently pull your eyelid taut and start lining from the outer corner.
- Gradually work your way to the inner corner, keeping the line thicker outside and thinner inside.
- Tight line your upper lash line for a natural, eye-enhancing effect.
2. Liquid Liner:

- Shake the bottle and ensure the brush isn’t overloaded.
- Start from the middle of your upper lash line, moving outward.
- Connect the line from the inner corner to the middle.
- For a winged look, extend the line upward from the outer corner.
3. Gel Liner:
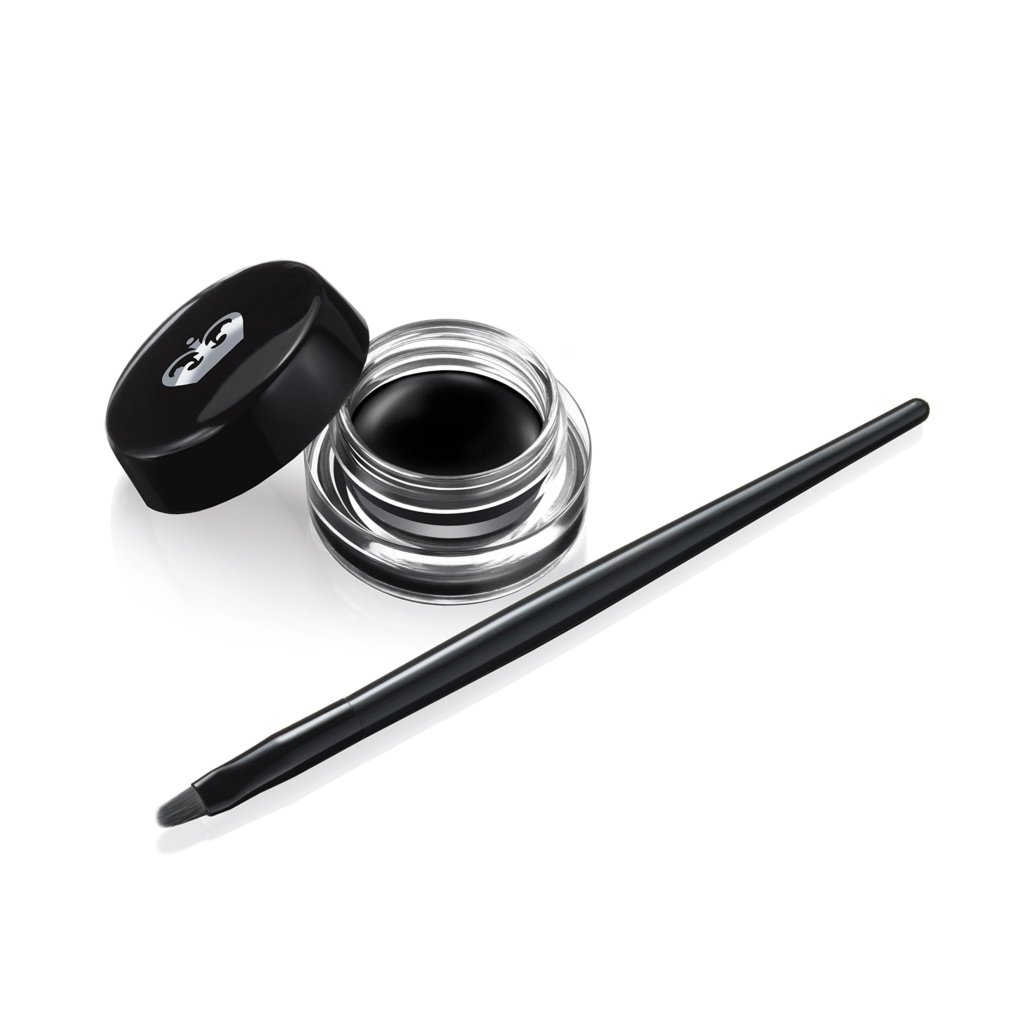
- Apply gel liner to the brush tip.
- Start from the inner corner and work outward, following your lash line.
- Create wings or cat eyes by extending the line from the outer corner.
- Blend with eyeshadow for a smoky effect.
4. Cream Liner:
- Dip your angled brush into the cream liner and saturate it.
- Begin at the outer corner, applying small strokes.
- Work your way inward, ensuring an even, defined line.
- Reapply for added intensity.
Pro Tips for Perfection:
- Experiment with different liners to find your favorite.
- Practice makes perfect; don’t be afraid to try new techniques.
- Use tape or a business card for precise winged eyeliner.
- Clean your brushes regularly for smooth application.

you’re now an eyeliner expert! With the right type of liner and our easy-to-follow instructions, your eyes will always steal the show. Embrace your creativity, have fun experimenting, and get ready to dazzle the world with your perfectly defined eyes! Happy lining! ✨