
In the fast-paced world we live in, finding time for a trip to the salon isn’t always easy. However, that doesn’t mean you have to sacrifice having beautifully manicured nails. Nail extensions, a popular trend in the world of beauty, can now be achieved in the comfort of your own home. With a bit of patience, creativity, and the right technique, you can add glamour to your fingertips without stepping out. Let’s dive into the world of DIY nail extensions and discover how you can master this art.
Gather Your Supplies:
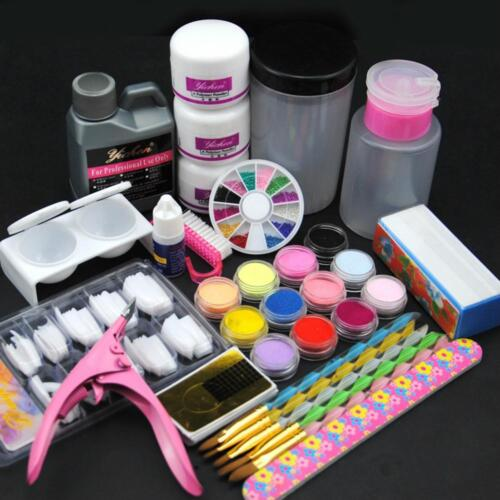
First and foremost, gather all the necessary supplies. You’ll need nail tips, a high-quality nail glue, a nail file, a buffer, acrylic powder, acrylic liquid, a brush, and a top coat. These items are readily available in most beauty supply stores and online platforms.
Preparing Your Natural Nails:

Begin by cleaning your natural nails thoroughly. Trim and shape them to your desired length and style. Gently push back the cuticles to create a clean canvas for your extensions. Remember, healthy nails are the foundation of any stunning nail extension.
Applying the Nail Tips:
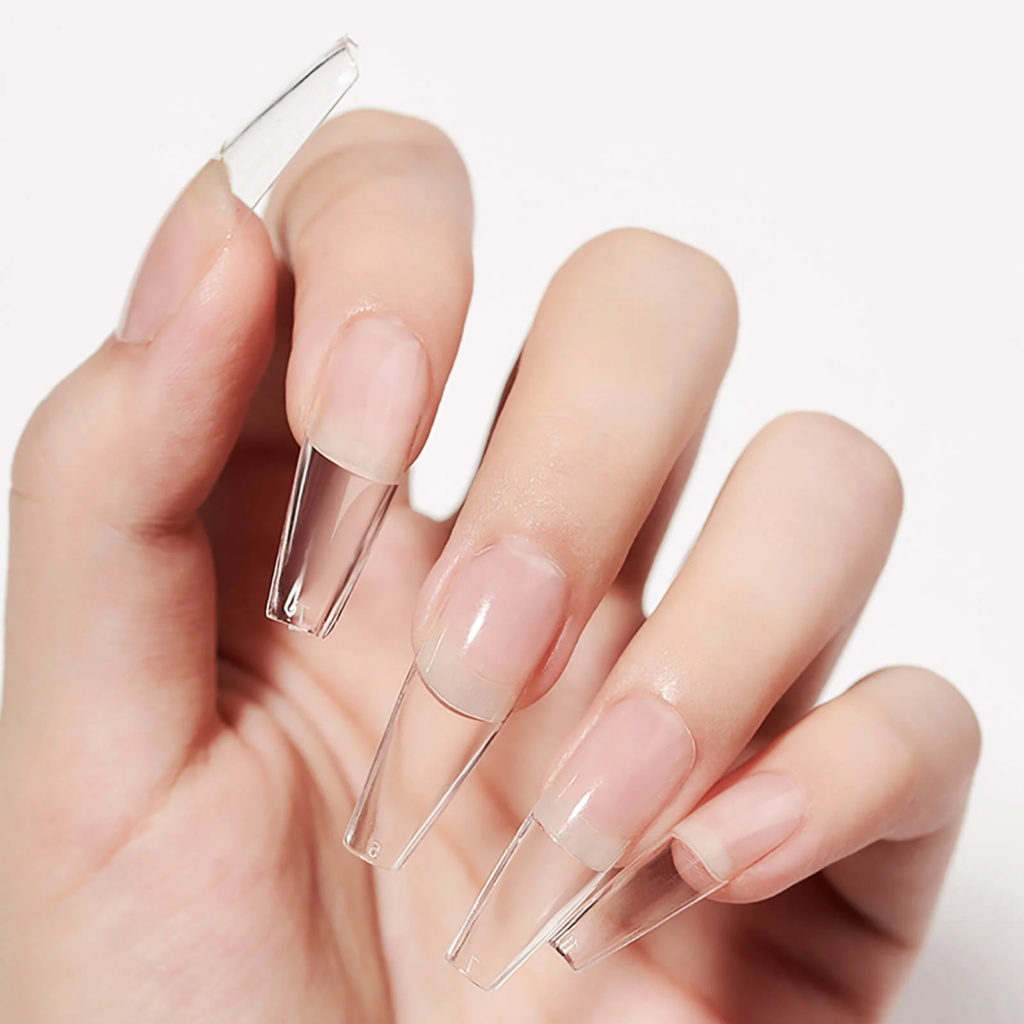
Apply a small amount of nail glue to the back of the nail tip and press it firmly onto your natural nail. Hold it in place for a few seconds to ensure a strong bond. Once all the tips are applied, use a nail cutter to trim them to your preferred length.
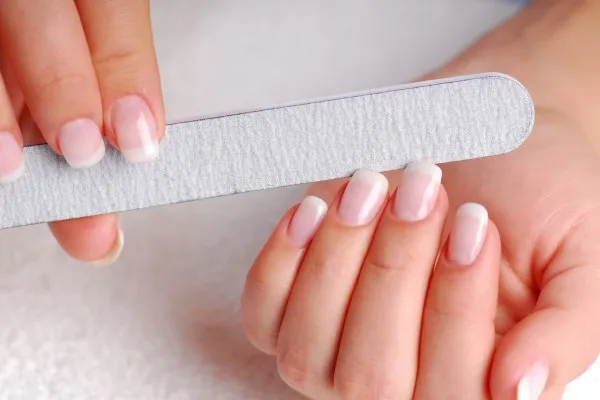
Shaping and Filing:
Now comes the artistic part – shaping your nails. Use a nail file to shape the extensions to your desired style – be it square, oval, almond, or coffin-shaped. Take your time with this step; the right shape can enhance the overall look of your hands.
Applying Acrylic:

Prepare the acrylic mixture by dipping your brush into the acrylic liquid and then into the acrylic powder. Apply the mixture onto the seam where the extension meets your natural nail. Gently sculpt and blend the acrylic to create a smooth and natural-looking extension. It might take some practice, so don’t be discouraged if it’s not perfect on your first try.
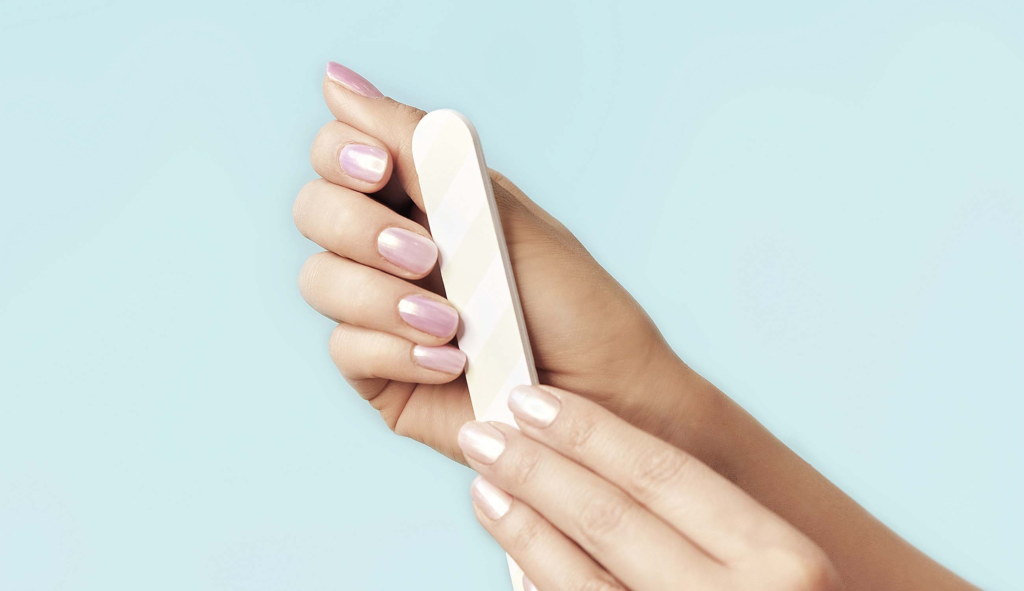
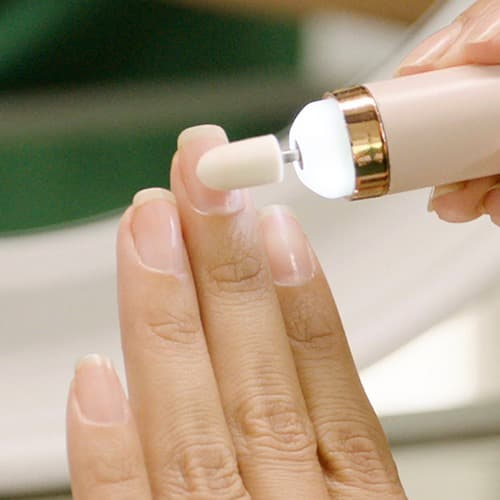
Buffing and Smoothing:
Once the acrylic is dry and your nails are shaped to perfection, use a buffer to smooth out any rough edges and create a uniform surface. Be gentle to avoid over-buffing, which can damage the acrylic and your natural nails.
Adding the Finishing Touch:
Apply a top coat to seal the acrylic and add a glossy finish to your nail extensions. This not only enhances the appearance but also provides extra protection, ensuring your DIY nail extensions last longer.
Caring for Your Nail Extensions:

Proper maintenance is crucial for long-lasting nail extensions. Avoid using your nails as tools, as this can cause them to break or chip. Regularly moisturize your cuticles and the skin around your nails to keep them healthy and hydrated. If you notice any lifting or damage, it’s essential to address it promptly to prevent further issues.
mastering the art of DIY nail extensions requires patience, practice, and a bit of creativity. With the right tools and techniques, you can achieve salon-quality results from the comfort of your home. So, why not indulge in a little self-care and give your fingertips the glamorous makeover they deserve? Happy nail extending!